Ink & Alchemy: Hand-Crafting Your Own Sumi-e Style Black Inks

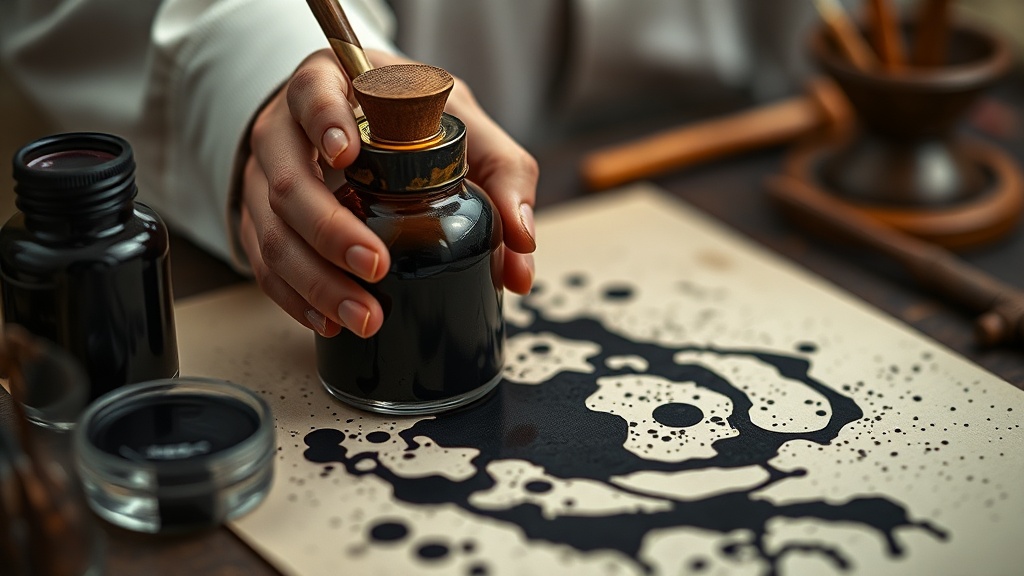
A single drop of liquid soot hits a sheet of heavy-weight 300gsm Fabriano paper, spreading into a perfect, velvety circle that refuses to bleed into the fibers. This is the hallmark of high-quality Sumi ink: a density that feels structural rather than just liquid. While many artists rely on pre-made bottled inks, the process of creating your own black ink—a practice of alchemy involving carbon and binders—allows for a level of control over viscosity and sheen that commercial products often lack. Whether you are aiming for the stark, disciplined lines of Zen calligraphy or the atmospheric washes used in traditional landscape painting, understanding the chemistry of your medium is the first step toward intentional creation.
The Anatomy of Black Ink: Carbon and Binders
To create a functional Sumi-e style ink, you must balance two primary components: the pigment (the color) and the binder (the vehicle that holds the pigment to the surface). In traditional Japanese and Chinese ink-making, this is achieved through the combination of soot and animal glue. For a modern studio setup, you can replicate this using high-quality carbon black and a stable, water-soluble binder. The goal is to create a medium that is fluid enough to flow from a goat-hair brush but thick enough to maintain a deep, opaque blackness when concentrated.
The Pigment: The foundation of any deep black ink is carbon. While you can use various forms, Lamp Black or Bone Black pigments offer the most depth. Lamp black is produced by collecting the soot from oil lamps and provides a slightly cooler, more matte finish. Bone black, derived from charred animal bones, offers a warmer, richer undertone. For those experimenting with organic materials, you can also look into the techniques used in creating botanical inks from kitchen scraps, though carbon-based soot remains the gold standard for the specific weight required in Sumi-e.
The Binder: Without a binder, your pigment is simply dust. Traditionally, Nikawa (animal glue) is used. In a contemporary craft studio, you can achieve similar results using high-grade Gum Arabic or even a very dilute solution of gelatin. The binder serves two purposes: it keeps the pigment particles suspended in the liquid so they don't settle too quickly, and it ensures that once the water evaporates, the pigment adheres permanently to the paper.
Essential Tools for the Ink-Making Lab
Organizing your workspace is critical when dealing with fine powders and liquid binders. A cluttered desk leads to uneven pigment distribution. Set up a dedicated "alchemy station" with the following items:
- Precision Digital Scale: Accuracy is non-negotiable. You will need to weigh your pigments and binders to the 0.1g level to ensure consistency between batches.
- Fine Mesh Sieve (100-200 mesh): This is used to sift the carbon powder to remove any clumps or larger particles that could clog your brush or create uneven texture.
- Glass Beakers and Stirring Rods: Using glass prevents the absorption of pigment into the tools, making cleanup easier and ensuring no cross-contamination.
- Mortar and Pestle: Essential for grinding the pigment and binder together to achieve a truly homogenous mixture.
- High-Quality Paper: For testing your ink, use Washi or Xuan paper. These papers are designed to react to the moisture levels of the ink, showcasing the "bleed" and "dry brush" effects essential to the style.
Step-by-Step: Crafting Your First Batch of Carbon Ink
Follow this specific ratio to create a baseline ink that can be diluted to various shades of grey. This recipe yields approximately 100ml of concentrated ink.
1. Preparing the Pigment Base
Start by weighing out 20 grams of Lamp Black pigment. Place the pigment into your mortar. Using a small amount of distilled water—just enough to create a thick paste—begin grinding the pigment with the pestle. This "wet grinding" phase is crucial. You are not just mixing; you are breaking down the molecular structure of the carbon to ensure it is as fine as possible. Continue this process for at least 10 minutes until the paste is incredibly smooth and lacks any visible grit.
2. Incorporating the Binder
In a separate beaker, prepare your binder solution. If using Gum Arabic, mix 10ml of a 20% concentration solution with 70ml of distilled water. Slowly add this liquid to your carbon paste in small increments. As you add the liquid, continue to stir with a glass rod. You will notice the mixture transition from a heavy, sludge-like consistency to a more fluid, silky liquid. The key is to add the liquid slowly; adding it too fast can result in a "broken" ink where the pigment and binder separate.
3. Sifting for Purity
Once the ink is fully combined, pass the entire mixture through your fine mesh sieve into a clean glass jar. This step is the difference between a mediocre ink and a professional-grade medium. The sieve catches any unground clumps of carbon or undissolved binder, ensuring that your brush strokes remain crisp and your lines do not break mid-stroke. If the ink still feels too thick, add distilled water one teaspoon at a time until it reaches the viscosity of heavy cream.
4. The Resting Period
Do not use the ink immediately. Cover the jar with a tight-fitting lid and let it rest for at least 24 hours. This allows the particles to settle and the chemical bond between the carbon and the binder to strengthen. After 24 hours, give the jar a gentle swirl—do not shake it vigorously—to re-homogenize the mixture before use.
Testing and Adjusting Tones
The beauty of hand-crafted ink lies in its versatility. A single batch of concentrated black ink can be used to create an infinite spectrum of greys through dilution. To master this, create a "Tone Scale" in your sketchbook.
The Dilution Method: Take a small amount of your concentrated ink and place it in a separate well. Add varying amounts of distilled water to this well to create three distinct levels: a "Light Grey," a "Mid-Tone," and a "Deep Charcoal." Use a traditional wolf-hair or goat-hair brush to paint vertical strokes of each tone on your Washi paper. Observe how the ink interacts with the paper's grain. If the ink dries too quickly and leaves "salt" marks (white spots), you may need to increase your binder concentration slightly.
Texture Experiments: Once you are comfortable with the fluid ink, experiment with how it reacts to texture. You can use the ink to create depth in your work, much like the way one might use salt texturing in watercolor to create organic, crystalline edges. In Sumi-e, the "dry brush" technique (Feibai or "flying white") is achieved by using a relatively dry brush with very little ink, allowing the white of the paper to show through the stroke, creating a sense of movement and speed.
Storage and Maintenance
Because this ink is made with organic or water-soluble binders, it is susceptible to spoilage and drying out. To maintain your collection, store your ink jars in a cool, dark place. Avoid direct sunlight, as UV rays can degrade the binder over time. If you are using an animal-based binder like Nikawa, it is highly recommended to keep the ink in a refrigerator to prevent bacterial growth. When you are finished with a session, always rinse your brushes thoroughly with lukewarm water and store them hanging tip-down to ensure the pigment does not settle in the ferrule.
By controlling the alchemy of your ink, you are no longer just a user of a tool, but a creator of the medium itself. This intentionality transforms a simple drawing session into a profound ritual of preparation and execution.