Making Your Own Natural Pigments from Earth and Stones

A heavy granite stone sits on a workspace, its surface etched with fine grey veins, waiting to be ground into a powder. This process of transforming raw geological matter into usable art supplies is a fundamental skill for artists looking to deepen their connection to their medium. This guide provides the technical steps for harvesting, processing, and binding natural pigments from earth and stones to create your own professional-grade paints.
The Science of Pigment Production
Pigment is the colorant in paint, and unlike dyes, which dissolve in a liquid, pigments are solid particles suspended in a binder. To make a functional paint, you must achieve two things: an incredibly fine particle size and a stable emulsion. If your particles are too large, the paint will feel gritty and may scratch your paper or canvas. If your binder is incorrect, the pigment will flake off once dry. Understanding the relationship between the raw mineral and the medium is the first step in successful pigment making.
Essential Tools for the Studio
Before you begin collecting materials, organize your workspace with the following professional-grade tools. Precision in your equipment will directly impact the quality of your final pigment.
- Glass or Porcelain Mortar and Pestle: Avoid wooden tools, as they absorb moisture and can contaminate your pigments. Porcelain is ideal for fine grinding.
- Fine Mesh Sieves: Use a set of varying micron sizes (from 100 to 400 microns) to ensure consistency.
- A Digital Scale: Essential for weighing your pigment-to-binder ratios accurately.
- Glass Mulling Plate: A flat piece of heavy glass used to grind pigment into a smooth paste with a muller.
- Microplane or Grater: Useful for the initial breakdown of larger stone fragments.
Sourcing and Preparing Your Raw Materials
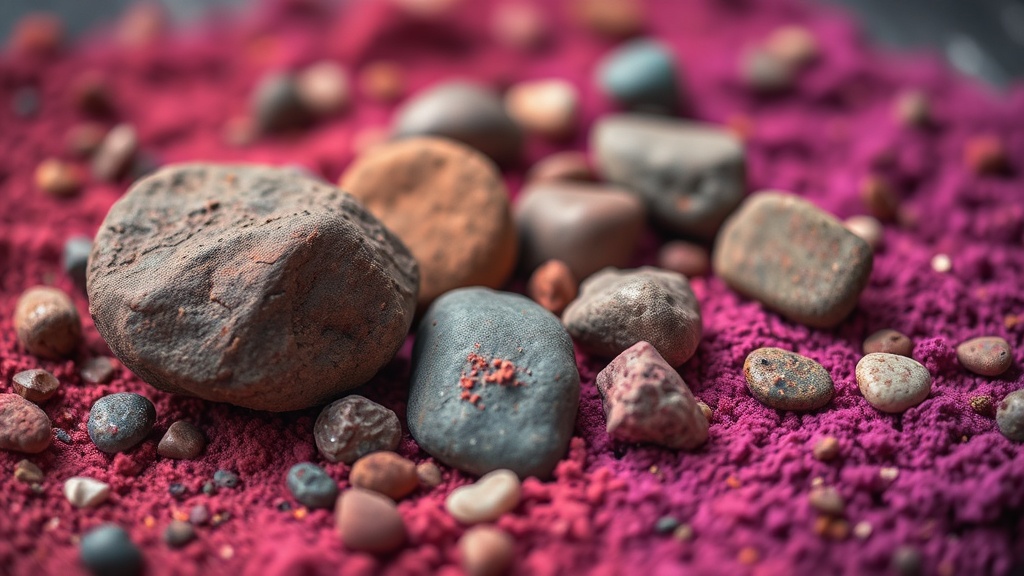
The search for pigment begins with geological observation. You are looking for minerals that possess distinct hues: iron oxides for reds, yellows, and browns; ochres for earthy tones; and specific stones for more vibrant or unique colors. Always check local regulations and land-use laws before collecting samples from any public or private land.
Common Earth Pigments
When foraging, look for these specific geological indicators:
- Iron Oxides (Hematite and Limonite): These are the most common sources for reds, oranges, and yellows. Hematite provides deep, blood-red tones, while Limonite yields mustard and ochre hues.
- Clays: High-quality clays can provide a base for tempera or can be processed into fine powders for earth-tone washes.
- Charcoal: While not a stone, charred wood from specific hardwoods like oak or maple provides a deep, matte black.
- Malachite or Azurite: These copper-based minerals produce stunning greens and blues, though they require more advanced handling due to their toxicity.
The Cleaning Process
Raw earth is full of impurities like organic matter, sand, and salts. To ensure your paint doesn't rot or become abrasive, you must clean your samples thoroughly. Place your collected stones or dirt in a container of distilled water. Stir vigorously to create a slurry, then let it settle. The heavier minerals will sink, while the lighter organic matter will float. Decant the top layer of water and repeat this process at least five times. For stones, you may need to use a hammer or a heavy weight to break them into smaller, manageable pieces before the washing stage begins.
The Grinding and Refining Workflow
Once your material is clean and dried, the mechanical reduction of the particle size begins. This is the most labor-intensive part of the process, requiring patience and a systematic approach.
Step 1: Initial Pulverization
Use a heavy mortar and pestle or a specialized rock crusher to break the stones into a coarse sand-like consistency. If you are working with dried clay or earth, you can use a heavy metal spatula to break up clumps. The goal here is to get the material small enough to be processed by the mulling plate.
%2: Sifting for Uniformity
Pass your coarse powder through a fine mesh sieve. Any particles that do not pass through the sieve must be returned to the mortar and pestle for further grinding. This step is critical; if you skip it, your final paint will have a "sandpaper" texture that ruins the fluidity of your brushwork. If you are interested in how different textures affect your work, you might enjoy reading about using found objects in mixed media to see how texture and color interact.
Step 3: The Mulling Process
This is where the pigment becomes "paint-ready." Place a small amount of your refined powder on the glass mulling plate. Add a few drops of your liquid medium (water, oil, or egg yolk) and use the glass muller in a circular, figure-eight motion. The pressure of the muller against the plate is what shears the particles into a microscopic smoothness. Continue this motion until the paste is completely uniform and glossy. For water-based pigments, this stage may take 15 to 30 minutes of continuous motion for a single color.
Choosing Your Binder
The binder is the "glue" that holds the pigment to your surface. The type of binder you choose determines whether you are making watercolor, oil paint, or tempera. Match your binder to your desired artistic application.
Watercolor (Gum Arabic)
For a transparent, water-soluble finish, use Gum Arabic. This is the standard for professional watercolors. To make the binder, mix a solution of Gum Arabic powder with distilled water and a tiny drop of honey or glycerin to prevent the paint from becoming too brittle. This creates a fluid, luminous paint that works beautifully on high-quality paper. If you find your colors aren't sitting right on the page, remember that paper quality and warping can often affect how much moisture your pigment absorbs.
Oil Paint (Linseed Oil)
To create a heavy-body oil paint, mix your dry pigment with cold-pressed linseed oil. Use a palette knife to blend the two until the consistency is smooth. Oil-based pigments are exceptionally lightfast and provide a rich, buttery texture that is ideal for impasto techniques.
Egg Tempera (Egg Yolk)
Egg tempera is one of the oldest and most durable mediums. It uses the lecithin found in egg yolks as an emulsifier. Mix the yolk with a small amount of water and a drop of white vinegar (to prevent spoilage) before adding your pigment. This creates a fast-drying, matte paint that is excellent for detailed, illustrative work.
Testing and Storage
Before committing to a large batch, perform a "test swatch." Apply a small amount of your new pigment to a scrap piece of your intended surface. Observe how it dries: does it crack? Does it change color significantly (metamerism)? Does it remain transparent or become opaque?
Once satisfied, store your pigments in small, airtight glass jars. If you have made wet paint, use small, sterilized metal or glass tubes. Label every jar with the date, the source of the mineral, and the binder used. This level of organization ensures that your creative process remains as professional as your finished work. A well-documented pigment library is a foundational asset for any serious artist working with natural materials.