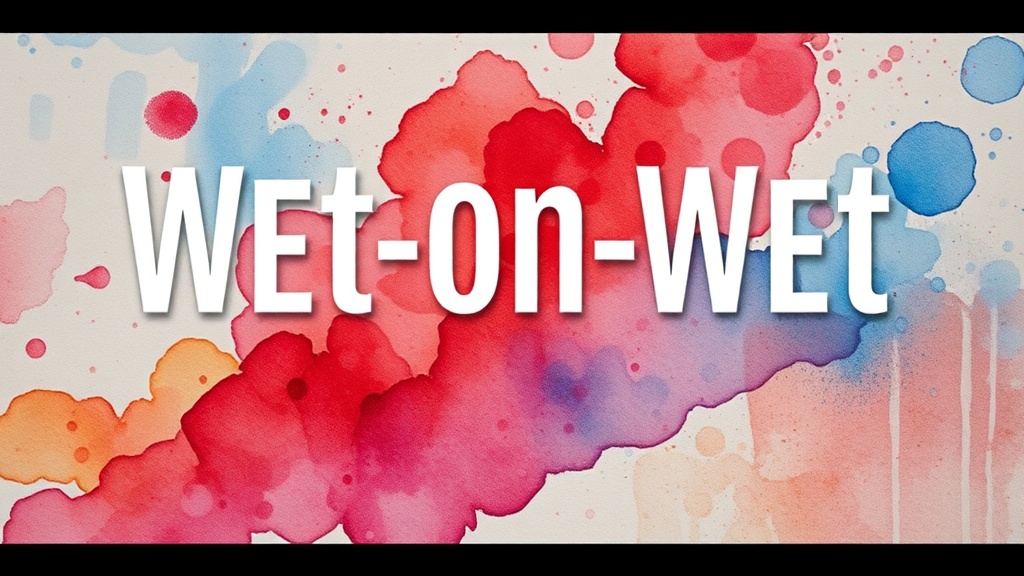
How to Master the Wet-on-Wet Watercolor Technique

This guide breaks down the wet-on-wet watercolor technique from setup to finished piece. You'll learn exactly how to control paint flow on damp paper, avoid the common pitfalls that ruin beginners' work, and create those dreamy, atmospheric washes that make watercolor so distinctive. Whether you're sketching in a travel journal or planning a framed piece, mastering this approach opens up expressive possibilities that dry-brush techniques simply can't achieve.
What Supplies Do You Need for Wet-on-Wet Watercolor?
The short answer: quality paper, a decent brush, and pigment that actually moves when wet. But here's the thing—not all watercolor supplies behave the same way when water hits them.
Start with 140lb cold-pressed paper. The Arches Cold Press Pad handles moisture better than student-grade alternatives, holding water on the surface long enough for colors to mingle without turning into a soggy mess. Cheap paper? It buckles immediately. The paint pools in valleys. You fight the material instead of working with it.
Invest in a silver mop brush—something like the Princeton Neptune Series 4750 in size 10 or 12. Synthetic squirrel holds massive amounts of water and releases it gradually. (Natural hair works too, but synthetics are easier to clean and maintain—plus they're cruelty-free.) Round brushes with pointed tips give precision when you're dropping color into specific areas.
Paint quality matters more with wet-on-wet than other techniques. Student-grade pigments—think Reeves or the bottom-tier Prang lines—contain more filler and less color. They go muddy faster. Professional sets from Winsor & Newton or Schmincke Horadam have finer pigment particles that disperse smoothly across wet surfaces. That said, you don't need the entire range. A warm and cool of each primary color—ultramarine blue, phthalo blue, quinacridone rose, cadmium red, new gamboge, and hansa yellow—gets you 90% of the way there.
| Supply | Budget Option | Professional Upgrade | Why It Matters |
|---|---|---|---|
| Paper | Canson XL Watercolor Pad | Arches 140lb Cold Press Blocks | Weight and sizing prevent warping |
| Brush | Princeton Snap! Silver Taklon | Escoda Versatil Synthetic Kolinsky | Water retention and control |
| Paint | Winsor & Newton Cotman Set | Daniel Smith Essentials Set | Pigment density and flow |
| Extras | Plastic palette lid | Masterson Sta-Wet Palette | Maintains wet-on-wet timing |
Two more items: a large water container (bigger than a cup—you'll be rinsing often) and paper towels. Not the fancy kind with lotion. Plain, scratchy Bounty or Viva. You'll use these constantly.
How Do You Prepare Paper for Wet-on-Wet Painting?
Tape it down, wet both sides evenly, and wait for the sheen to fade—but not completely.
Buckling destroys wet-on-wet work. The moment paper warps, water runs downhill. Colors collect in the valleys. What should be a soft sky turns into stripes. Use 1.5-inch masking tape (the blue painter's tape from 3M works fine) to secure all four edges to a rigid board—MDF, gatorboard, or even a clipboard from Staples.
The wetting technique depends on the effect. For broad atmospheric washes, lay the paper flat and use a large hake brush or clean sponge. Work from the center outward in smooth, even strokes. (Some artists spritz with a spray bottle—Mistos from the garden section at Home Depot work well—but brushes give more control.) The paper should look glossy, not flooded. Pooling water creates blossom disasters.
Here's the timing sweet spot: the paper enters what instructors call "moist-damp." It shouldn't look wet. The surface loses that mirror-like shine. Touch it lightly—cool, but not slick. This stage lasts maybe 2-5 minutes depending on humidity. In dry climates like Denver, work fast. In humid summers along the Gulf Coast, you've got more time. Worth noting: a hair dryer on low heat can push the paper through stages quickly if you overshoot.
Some artists stretch paper beforehand—soaking it completely, taping it while wet, letting it dry overnight. For casual sketchbook work? Overkill. But for a piece going to a client? Stretch that Arches.
What Are the Best Wet-on-Wet Techniques for Beginners?
Start with three approaches: the graded wash, the variegated wash, and the controlled bloom.
The Graded Wash teaches control. Lay your paper at a slight tilt—10 to 15 degrees. Load your brush with pigment and apply a thick band across the top edge. Rinse the brush slightly. Pull that color downward in overlapping strokes, adding less pigment as you go. The result fades smoothly from dark to light. This builds the foundation for skies, water surfaces, and shadow gradients. Practice this twenty times before moving on.
The Variegated Wash introduces color mixing on the paper itself. Wet your surface as described earlier. Drop quinacridone rose into the upper left corner. Without rinsing, pick up ultramarine blue and touch it into the bottom right. Watch them meet in the middle—purple happens automatically, but not uniformly. That unpredictability? That's the magic. The colors fuse at the edges in ways you couldn't paint deliberately.
The catch? Too much manipulation kills it. Let the water do the work. Tilt the paper if you want movement. Leave it flat for controlled blending.
The Controlled Bloom (sometimes called cauliflower technique) creates organic textures perfect for foliage, clouds, or abstract backgrounds. While a wash is still damp—noticeably wet but not dripping—drop in a more concentrated pigment. The denser paint pushes outward, creating branching, fractal-like patterns. Load a brush with almost-pure pigment for dramatic effects. Use it sparingly; a little goes far.
Try this exercise: Paint a simple leaf shape with new gamboge. While it's still glistening, touch phthalo green into the stem area. Let it bloom naturally. No brushing required. The vein patterns form themselves.
Why Does Paint Spread Differently on Wet Paper?
Water molecules carry pigment particles along capillary paths—the same physics that pulls water up through a paper towel.
When paper fibers are dry, paint sits on the surface. Brush strokes stay put. But wet fibers swell. The sizing (that gelatin-like coating on quality watercolor paper) partially dissolves, creating microscopic channels. Water rushes in. Pigment follows.
Granulating pigments—colors like ultramarine blue or burnt sienna made from ground minerals—separate as they flow. Heavier particles settle first. Lighter ones travel farther. This creates texture without effort. Staining pigments (phthalo colors, quinacridones) sink into the fibers immediately. They don't lift easily. Plan accordingly—staining colors first, granulating ones on top.
The wetness level determines spread distance. Soaking wet paper? A drop of paint travels inches. Slightly damp? It stays local. Experienced painters read the paper like a surface map, knowing exactly where water will carry pigment and where it'll stop. That intuition develops through repetition—and failure.
Common Mistakes and How to Avoid Them
Blossoms (those ugly cauliflower-like formations) happen when you go back into an area that's drying. The fresh water or paint pushes existing pigment outward in jagged rings. The solution? Work from light to dark. Plan your entire wash before starting. If you must correct something, wait until completely dry—or work the entire area back to wet.
Muddy colors come from over-mixing. Three pigments on wet paper create brown. Stick to two colors per wash when possible. Let them mix optically rather than stirring them together on the palette.
Backruns occur when a wetter wash hits a drier area. The moisture floods backward, creating dark edges. Control your water-to-pigment ratio. If one section is drying faster (usually near the edges), mist it lightly to keep pace with the center.
Putting It All Together: A Simple Exercise
Try a sunset sky. Tape down a quarter-sheet of 140lb cold-press paper. Wet it evenly with a large brush. Wait for the sheen to fade.
Touch quinacridone rose along the bottom third. Let it creep upward. Drop new gamboge above it, overlapping slightly. The colors will meet and create soft orange transitions without any effort on your part. At the very top, add a thin line of ultramarine blue.
Tilt the paper slightly. Let gravity pull the colors together for 30 seconds. Lay it flat. Walk away.
After it dries completely—completely, meaning not cool to the touch—paint a simple silhouette foreground. A tree branch. A pier. A figure. The contrast between the detailed dark shape and the flowing sky makes both look intentional. That's wet-on-wet's secret: controlled chaos in the background, precision in the foreground. The technique does half the work—you just need to set it up right.
Steps
- 1
Prepare Your Paper and Apply Clean Water
- 2
Load Your Brush with Diluted Watercolor Paint
- 3
Drop Colors onto the Wet Surface and Watch Them Blend