Fixing Your Dried Out Acrylic Paint

Quick Tip
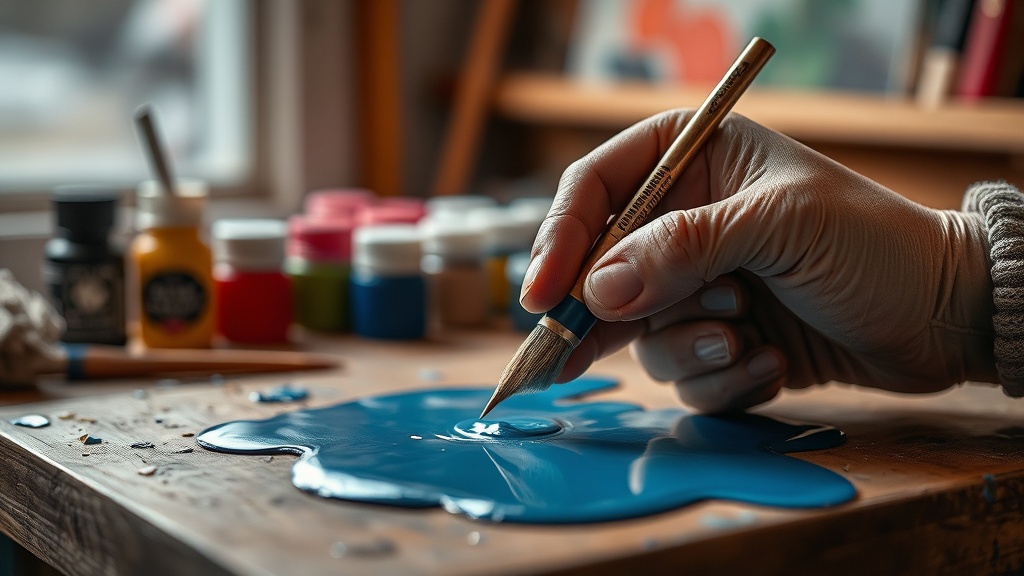
Use a small amount of acrylic medium rather than just water to restore consistency without losing adhesion.
A studio session comes to a grinding halt when a squeeze tube of Titanium White or Cerulean Blue suddenly yields a thick, rubbery clump instead of a smooth stream. This isn't just a minor inconvenience; it is a waste of expensive pigment and a disruption to your creative flow. Understanding how to revive your acrylics can save your budget and your project. This guide covers the specific methods for rehydrating acrylic paint based on the level of dryness you are facing.
Assess the Level of Dryness
Before adding any liquids, you must determine if the paint is merely thick or if it has completely polymerized. If the paint is still a paste but just "stiff," you can fix it easily. If it has turned into a solid, rubbery mass that pulls away from the sides of the container, it is likely permanent and should be discarded to avoid ruining your brushes.
Method 1: The Gentle Rehydration (For Thick Paint)
If your paint is still somewhat pliable but lacks the consistency needed for fine detail work, use a dedicated additive. Avoid using standard tap water if you want to maintain the structural integrity of the paint film.
- Acrylic Retarder: Add one or two drops of a professional retarder, such as Golden Open Acrylic Retarder. This slows the drying time and restores a buttery consistency without thinning the pigment.
- Flow Improver: If you want a smoother, more fluid application for glazing, use a flow improver. This helps the paint move across the surface without breaking down the binder too aggressively.
- Distilled Water: If you are on a budget, use a single drop of distilled water. Distilled water is preferable to tap water because it lacks minerals that can cause unexpected chemical reactions or cloudiness in your paint layers.
Method 2: The Deep Fix (For Crusty Paint)
When the paint has developed a "skin" on top, do not attempt to stir it immediately, as this will result in lumps in your artwork. Instead, follow these steps:
- Remove the Skin: Carefully peel the dried film off the top of the paint and discard it.
- Add Liquid: Add a small amount of heavy-body acrylic medium or water to the center of the remaining paint.
- The Wait Period: Let the liquid sit on top of the paint for at least 10 to 15 minutes. This allows the moisture to penetrate the dried layers.
- Slow Incorporation: Use a palette knife to fold the liquid into the paint using a "folding" motion rather than a vigorous stirring motion. This prevents air bubbles and ensures a uniform texture.
Pro-Tip: To prevent this from happening again, always ensure your palette is airtight. If you use a stay-wet palette for your acrylics, ensure the sponge is sufficiently damp but not flooded.
Maintaining your tools is just as important as the application itself. Much like understanding why your watercolor paper keeps warping, mastering the chemistry of your mediums ensures your technical skills are never sidelined by equipment failure.