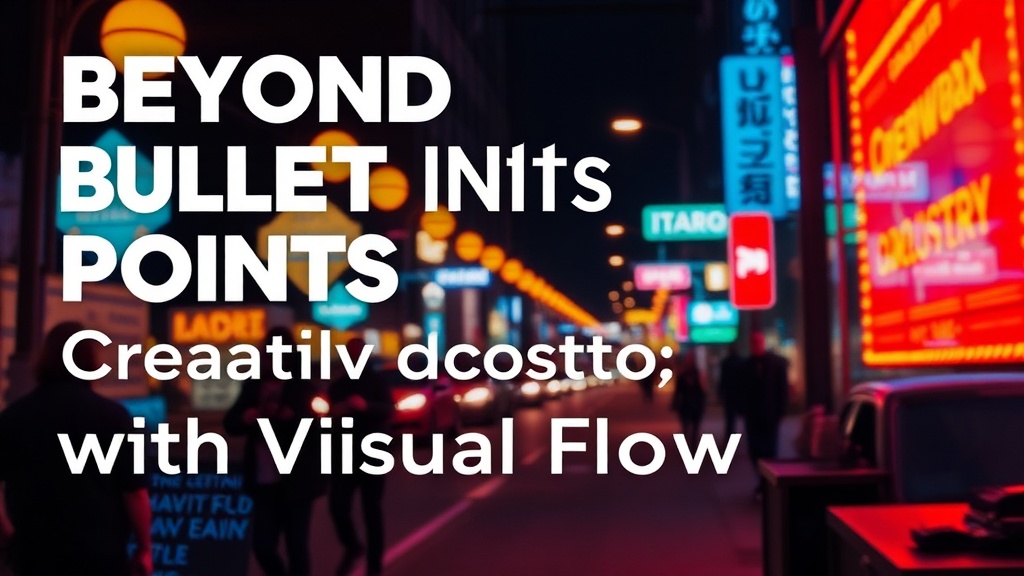
Beyond Bullet Points: Structuring Creative Projects with Visual Flow

Imagine you’re staring at a freshly primed canvas, a blank document, or a new client brief, and that exhilarating spark of an idea quickly gets buried under a mountain of ‘how-to’ questions. The initial rush gives way to overwhelm as you grapple with breaking down a grand vision into achievable steps. This isn't just a creative block; it's often a structural one—a disconnect between the expansive, iterative nature of artistic work and the linear demands of traditional planning. Visual project planning offers a compelling antidote, transforming nebulous concepts into tangible, inspiring roadmaps. It’s about leveraging our inherent ability to think spatially and pictorially, translating complex creative endeavors into digestible, actionable flows that actually reflect how creative minds operate, rather than forcing them into rigid, unyielding molds. This approach doesn't just organize your work; it invigorates it, making the journey from abstract idea to concrete creation an enjoyable, intuitive process.
Why do traditional project plans often falter in creative fields?
Most traditional project management methodologies—think Gantt charts and rigid spreadsheets—were meticulously designed for industrial processes. They excel at predicting concrete, repeatable outcomes with clear dependencies, where each step leads predictably to the next. But creativity? It’s rarely linear. A brilliant idea might emerge mid-process, demanding a sudden shift in direction; an unexpected challenge could open up entirely new artistic avenues, pushing the project into unforeseen, yet exciting, territory. Trying to force this fluid, often intuitive work into a strictly phased, 'predict-and-control' model can stifle innovation, leading to frustration, burnout, and ultimately, a compromised creative vision. Artists, designers, writers, and makers need frameworks that embrace discovery, iteration, and even purposeful detours as integral parts of the process. We need plans that feel like an extension of our creative flow, not a constraint imposed upon it, allowing for organic growth and unexpected inspiration without derailing progress.
What are the core components of a truly visual project plan?
Instead of just static task lists, a visual project plan incorporates elements that speak directly to your creative brain. It’s a dynamic ecosystem of interconnected concepts, not merely a static spreadsheet or a forgotten to-do list. Let’s break down the key ingredients:
- The Vision Board (or Creative Compass): Far more than just pretty pictures, this is where you solidify your project’s core aesthetic, emotional tone, and overall purpose. It’s a curated collection of imagery, typography, textures, colors, and even words that distill the essence of what you’re trying to achieve. Think of it as your North Star, a constant visual reminder guiding every decision and keeping your focus razor-sharp. This isn't about exact steps yet, but about the feeling and ultimate impact.
- The Project Map (or Flow Canvas): This is where the linear progression often breaks down—and that’s a good thing! Instead of a vertical list, picture a sprawling landscape. You’ll use interconnected shapes, arrows, and distinct zones to represent different phases, tasks, and potential parallel paths. This could be a large paper sheet, a digital whiteboard, or even a wall covered in sticky notes. The key is seeing how everything relates and flows into one another, not just what comes next in a rigid sequence. It allows for a more intuitive understanding of complexity.
- Sketch-notes & Idea Dumps: These aren’t formal notes; they’re quick, informal sketches, diagrams, and scribbled thoughts that capture fleeting ideas. Incorporating these directly into or alongside your project map ensures those sparks of inspiration don't get lost in translation. They’re a direct, unfiltered line from your subconscious to your planning process, maintaining the raw energy of new concepts.
- Milestone Markers & Visual Cues: Beyond simple due dates, think about symbolic representations for key accomplishments. A miniature trophy sticker, a specific color code, or a small drawing can make reaching a milestone feel more gratifying and keep motivation high. These visual cues serve as mini-celebrations along the way, acknowledging progress in a way that resonates with creative sensibilities.
How can you build your first visual project plan from scratch?
Ready to swap the dread of 'the plan' for the excitement of 'the map'? Here’s how you can construct a visual project plan that actually works with, not against, your creative process, making every step feel more engaging and intuitive.
- Step 1: Define Your North Star (The Vision): Begin by asking yourself: What’s the ultimate feeling or outcome I want to evoke? What’s the core message? Gather visual inspiration—images, color palettes, textures, even sounds or literary excerpts—that embody this. Don't worry about specifics yet; this is about capturing the essence. You might use a physical corkboard, a Pinterest board, or a digital tool like Milanote for this initial creative download. For more insights on developing a creative vision, consider resources on mindful artistic practice.
- Step 2: Brainstorm the Broad Strokes (The Zones): On a large surface, whether it’s a dedicated bullet journal spread, a whiteboard, or a digital canvas, start sketching out the major 'zones' or phases of your project. For a painting, this might be 'Concept Development,' 'Underpainting,' 'Layering & Detail,' 'Final Varnish.' For a writing project, 'Outline,' 'First Draft,' 'Revisions,' 'Editing.' Don’t overthink the order initially; just get them down as distinct, manageable categories.
- Step 3: Deconstruct into Digestible Chunks (The Tasks): Within each zone, start breaking down those broad strokes into smaller, manageable tasks. Use sticky notes, small index cards, or individual boxes within your digital tool. Crucially, each task should be small enough to feel approachable and completable within a reasonable timeframe. 'Paint entire canvas' is daunting; 'Sketch compositional thumbnails,' 'Mix primary color palette,' or 'Block in background tones' are actionable. This is where your meticulous bullet journal skills truly shine, translating those big ideas into bite-sized missions.
- Step 4: Map the Flow (The Connections): Now, connect your tasks and zones with arrows, lines, or even color-coded threads. Show dependencies—what needs to happen before something else can begin—but also highlight parallel paths. Can you research concepts while sketching? Can you gather reference photos while practicing a specific technique? Visualizing these connections reveals a more organic, efficient workflow that might not be immediately apparent in a linear list. For a deeper dive into visual thinking techniques, explore resources like those offered by